Selectors
Pick and choose
Selectors
The first part of a CSS rule is the selector. There are actually many different types of selectors, but they all just let you determine which element to style. There are so many selectors for the purpose of giving you varying degrees of preciseness in selecting elements. Some will only grab one element on the page, while others will grab an array of elements. You will be introduced on this page to the type, id, and class selectors. These are not all the types of selectors, but they are the most commonly used.
Type Selector
The type selector is the most commonly used. These selectors are simply the keywords used in the HTML tags. Here are a few examples: The following selector will grab all the <h1> elements and style them. h1 { styling code }
The following selector will grab all the <p> elements and style them. p { styling code }
ID Selector
The ID selector is the most specific selector. An ID is a unique identifier, and is placed in the HTML as an attribute on any opening tag (ex. <h1 id="bees">Bees</h1>). There cannot be more than one tag on the page with the same ID. Think of an ID as a drivers license. Each person is issued a unique license so there is no confusion about who it belongs to. We can then use the drivers license to find a unique individual.
When writing an ID selector you use the # sign followed by the name of the ID. Here are a few examples:
The following selector will style the element that has an ID of bees
(Associated HTML: <h1 id="bees">Bees</h1> )
#bees { styling code }
The following selector will style the element that has an ID of topnav
(Associated HTML: <nav id="topnav">Navigation info</nav> )
#topnav { styling code }
Class Selector
The class selector allows you to make custom groups of elements, and style them the same way. A class is placed in the HTML as an attribute on any opening tag (ex. <section class="blurb">John Clifford</section>). Unlike IDs, there can be multiple tags on the page with the same class name. Think of a class as a groups name, for instance girls. If you heard about a group named girls you would immediately associate females to this group, you would expect to see only females in this group, and you could get the attention of the whole group by calling out their group name.
When writing a class selector in CSS, you use a period "." followed by the name of the class. Here are a few examples:
The following selector will style the elements that have a class of blurb.
(Associated HTML: <section class="blurb">John Cifford was a generous man</section> )
.blurb { styling code }
The following selector will style the elements that have a class of author.
(Associated HTML: <p class="author">John Doe</p> )
.author { styling code }
Naming IDs and classes
As the coder you get to determine the name for the ID and class attributes. These should be descriptive, and not arbitrary. The name for an ID should describe a unique item, for instance id="footer-nav" or id="bee-section." The name for a class should describe the class as a whole, for instance class="blurbs". Take note that these are case-sensitive, and should not have any spaces.
Activity
Here you can test out what you read, and achieve badges.
Activity Instructions
Read the content at the top of this page before completing this activity.
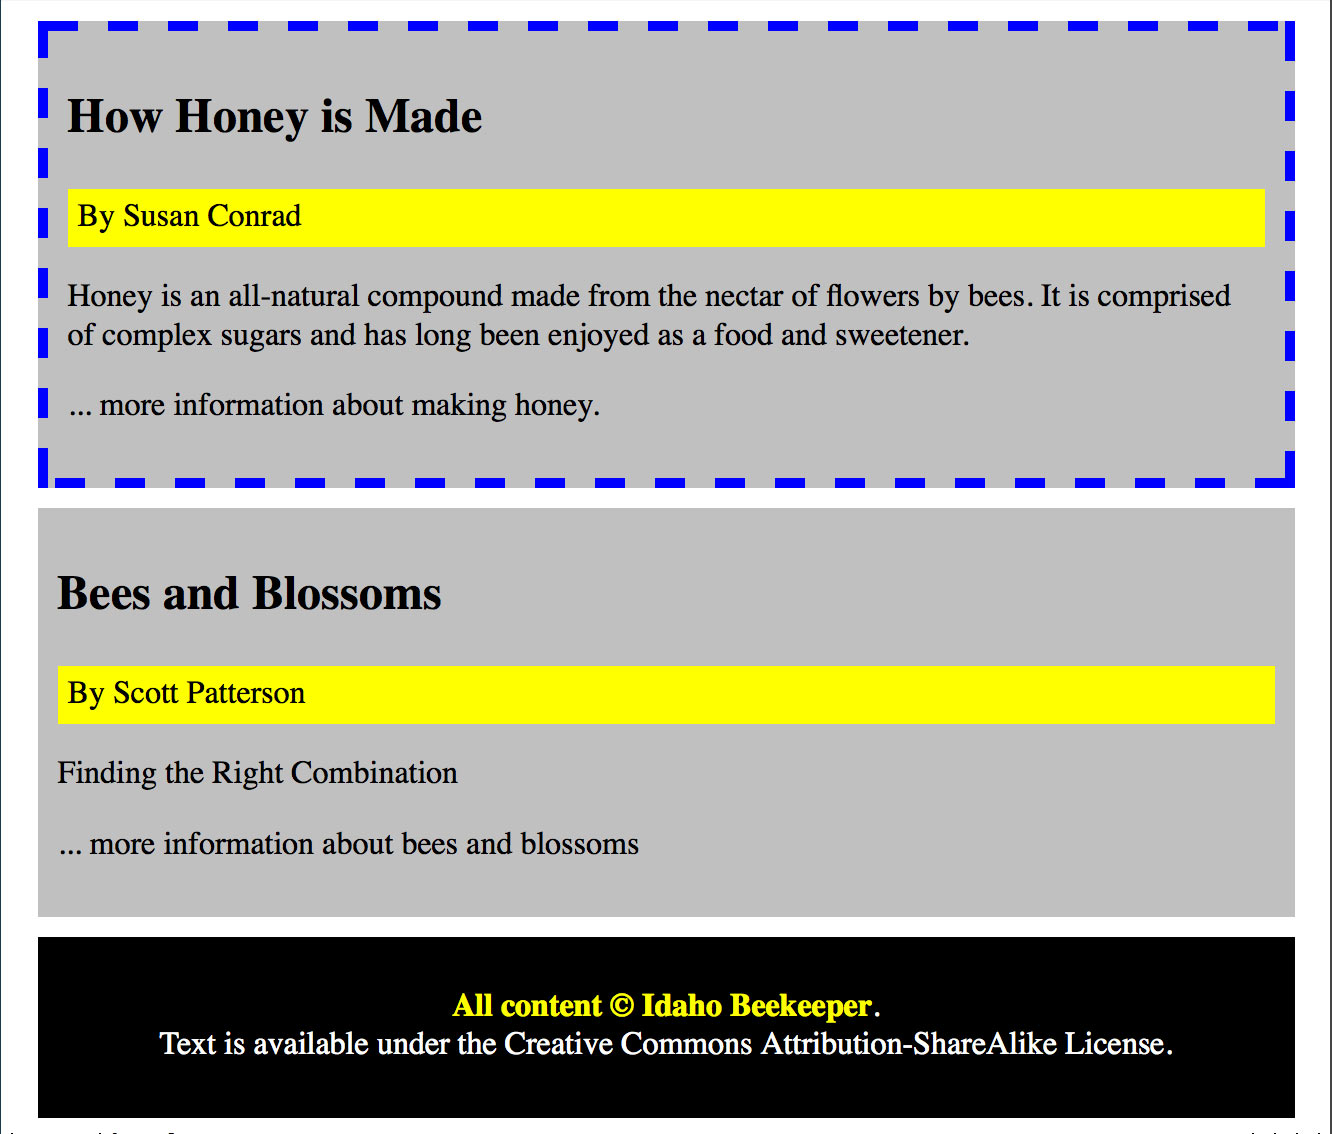
The goal of this activity is to insert the correct CSS selectors to make the playground output look like this screenshot. Here are a few pointers:
- The majority of the CSS is provided in this activity, the only thing you need to add/replace is the selector.
- Don't delete any HTML, but you can add ID and class attributes to tags.
- The ID and class names should be descriptive, and not arbitrary.
- Use two type selectors, two ID selectors, and one class selector in the CSS for this activity (there will be multiple tags in the HTML with the same class attribute).